Showing posts with label furniture. Show all posts

March 18, 2013

Spring is Coming...Hopefully

If you know me, you know that I love spring and I love flowers! That's why I decorate my home with flowers from every season. I've been waiting patiently for the weather to turn nicer so I can start back up with building things. I decided after a long winded conversation with the hubs, that it'll be two matching bookshelves next on the lineup. I was thinking about an outside table to enjoy the many parties we like to throw, but are without chairs! I want to find the chairs before I build a table in case the chairs are short or tall. My first day off in a long time is on Wednesday and I've convinced the hubs to take my little car so I can have the flat bed to strap down my lumbar for the ride home. Stay tuned for updates on the progress!!

Oh yeah, did I mention, over spring break, I had the opportunity to FINALLY paint our bedroom! Here's the pictures!
New bedding from Target! I love it!
I decided to paint one of the four walls that awesome beige I used in the living room, guest room and hallway. Good thing about have extra, I guess! Plus I got a chance to touch up the rest of the house.


Gunner and Bear enjoy the new face of the room!
On the wall with our wedding photo, I made some wall ledges ages ago that would look lovely on both sides of the picture. That project will (hopefully) be done tomorrow.

Until next time,
Sarah

February 2, 2013

End Table

As promised, (I know it took SO long!!!) my end table is FINALLY done and in place. I did some different things than I did with my console table.
The weather here in South Dakota has been freezing. Everything in my poor garage is covered in saw dust. I've also been SUPER busy with my last semester of school. It feels like I spend my every waking moment studying or working at the hospital. Good news though, I'LL BE DONE IN MAY!!!

Okay, enough rambling, now onto what you actually came to read...

After finishing the table with my homemade stain, I didn't bother sanding it down before sealing it with polyurethane due to the weather. Maybe one day when it's nicer, I can take it back outside and actually finish it correctly. It doesn't look too bad, just not as good as my big table. The surface isn't as smooth as I wanted it to be.

You can find these plans here. I chose not to do the 2x2 X on each side. I decided to mimic the way I did my other table.
When I made my stain, I added a little more apple cider vinegar which made the wood more red.
As I did with my other table, I adjusted the measurements for this end table to fit in the space I needed it to. Not sure what my next project will be, so stop back by later to check it out!

Until next time,
Sarah

October 1, 2012

Somethings Just Happen

I think I lied before when I said I was going to work on my corner shelf. It's still standing in my dinning room, untouched. I don't want to do anything to it until I come up with how I want it to look. No use in having it sit in the garage forever while I figure it out!!

I did want to share the treasure I found at my favorite thrift store down the street from me!!! I have big plans for this puppy.


I picked this up for $10!!! I know at my local hardware store, these babies run about $50. I'll be using it for two different projects.

The first project will be using the backside of the ladder, or the part without the steps. I will be adding rungs to the top and where the shelf is. This will be my new blanket rack in my living room. Very useful for those South Dakota winters!

The second will be using the front of the ladder where the steps are. I'm going to put deep shelves on the steps and turn it into a "step ladder" shelf for the guestroom! (Hopefully) sturdy enough to hold family pictures and those odd and ends that somehow just fit in the guestroom.

I'll have to get help from the hubs to drill through the rivets that hold both pieces together at the top...and the top shelf; as well as the bracket that folds it in half. Followed by a good sanding down (everyone knows how much I hate sanding!!) and finally a nice stain and seal.


It seems like I've got a lot going on here with all of the projects I'm working on and want to work on. I've figured out the "Sarah" dimensions for my end table that will match my console table. Since I have a low sitting couch, I have to make it shorter. I've also decided to take the depth and width of the current end table I have an match it for the new one. For only the lumber, I can make one (I only need one...for now in this house) for under $20. If that's not a steal for one end table, I wouldn't know where to find one!!

I've also started making my families Christmas presents. I know some of my family keep up with my blog and I don't want to spoil their surprise! Maybe I can "secretly" post these in disguise so they won't know. Well I guess I'll figure that out when I have to.

That's all I have for you now. I will update again when I'm done with my ladder! I can't wait to share it with all of you!

Until next time,
Sarah

September 4, 2012

Console Table

It's the second week of school and already I've gone stir crazy. I have this weird need to always be doing something, I can't just sit still. Last week after my classes were done and the homework was finished, I wanted to get my hands on something. Something. Something to measure, cut, sand, stain, and seal. I just needed to decide what would fit in my budget.

I decided on a console table. But not just any console table. It was going to be custom, completely not according to the plans. This table has to fit in a space that's in the corner of my living room, where my glass coffee table presently sits. This console table will serve many purposes in this room. Not only will it hold some family pictures, wedding pictures, Bear pictures, but it can also hold those cozy blankets that are needed in the dead of our South Dakota winter. The shelves can also hold cute little baskets for random things we keep in that room (how about the one million remotes we have?!) So anyway, I went after school to the trusty Lowe's and picked out some (straight) pieces of wood. The original plan is 74 inches long (holy crap!), but I am cutting it down to 46 inches to fit between the wall and the french doors. The original plan also has the table 16.5 inches deep, however, I love the (actual) width of my coffee table I have now, so it will be close to 20 or so inches wide. I'm really, really hoping that my dimension turn out right. If not, we are going to have fun with some target practice. I will write up another post when I'm finished and it's finally in my house! But for now, it's patiently waiting to be cut in the garage as I finish dinner.

Until next time,
Sarah

August 25, 2012

Reclaimed Wood Headboard

This project was probably my most favorite so far. It was super easy to build and so much fun to stain!! I got the plans here. Ana provides dimensions for all bed sizes. I built myself the queen size for my master bedroom. Instead of getting (1) 1x8x16, I got (3) 1x6x5. For this particular size, the panels across measure to 5 foot. I also altered the height since my bed is placed under a window and the bottom of it measures 54 inches from the floor. I ended up cutting the legs to 50 inches. With the top pieces, it just fits under the window. I also added a 2x4 support board to the back of the panel to make sure the boards are flush. I had a hard time finding straight pieces of wood for this project, but I managed. The entire thing is put together with liquid nails glue and finishing nails, except for the 2x4 on top and back. For those, I used some 1-3/4 inch woodworking screws. I'll show you the progress pictures up to when I stain it. I have something homemade for that!

My nice pile of pine! $35.

Making progress!

Everything but the framing on the top and bottom.


So I was researching about a week ago on homemade wood stain. I came across this blog post. I stopped by Lowes on the way home and picked up a package of extra fine 00000 grade steel wool. Threw 2 pads in a quart sized mason jar and covered it with what little vinegar I had left and topped it off with about 1/4 of a cup of apple cider vinegar. I let it sit for 4 days, making sure the iron oxide gas could escape without blowing the top off the bottle. Everyday, I tightened the lid and shook it, then loosened the lid for the gas bubbles to be released. Before I used my homemade stain, I brewed some extra strength black tea and rubbed it onto the wood with an old sock. Please be sure to wear gloves to apply!! I'm not sure if it helped, but the wood grain really popped after it dried. I strained some of the liquid through a coffee filter so any leftover scraps of the steel wool wouldn't get into what I want going to brush onto the wood. While the solution was filtering, I sanded the whole headboard with a finer sandpaper. I usually use sandpaper that's a bit more coarse, but I wanted that smooth finish. I applied the solution with an old paint brush. Please be sure to wear gloves to apply!! It's amazing to see the color change from the chemical reaction between the acidic solution and the wood. Be sure to do this in a well ventilated area. Here's the progress pictures!

You can see my coffee filter at the top under the lid.

Here's the top of the filter, you can see the bits of leftover steel wool

First coat.

The tea created a tannis with the wood grain...making it pop.

Awesome gains

I started by staining the frame first, to the left is unfinished panel.

This is 5 minutes after application. Note comparison of the unfinished wood.

I'll be honest, when it started turning red, I was very tempted to sand it and start over. I'm so glad I didn't!

After application of the stain, I sanded the wood one more time, then wiped the dust off with a damp towel. I then took the same paint brush I used to stain it and coated the headboard with polyurethane. Let me tell you at how shocked I was at how AMAZING the wood looked! My husband and his friend were playing ping pong while I was polyurethaning and I kept shouting at how beautiful the wood was and how I was very happy with the outcome!!

Outside after sanding


This was after a damp rub down, you can tell a difference between just sanded and after the dust was taken away.
Gorgeous colors after polyurethane!!

Covered in polyurethane, gorgeous!

Here's the final product leaned up against the bed frame. I've discovered that when I was measuring for my bed, I failed to measure the width of my bed frame, so the headboard is a little too wide to be bolted to the frame. Let me know what you think!

The top is a little crooked...when I nailed the 2x4 down, I didn't have glue for it, so it likes to pull away from the rest of the headboard.

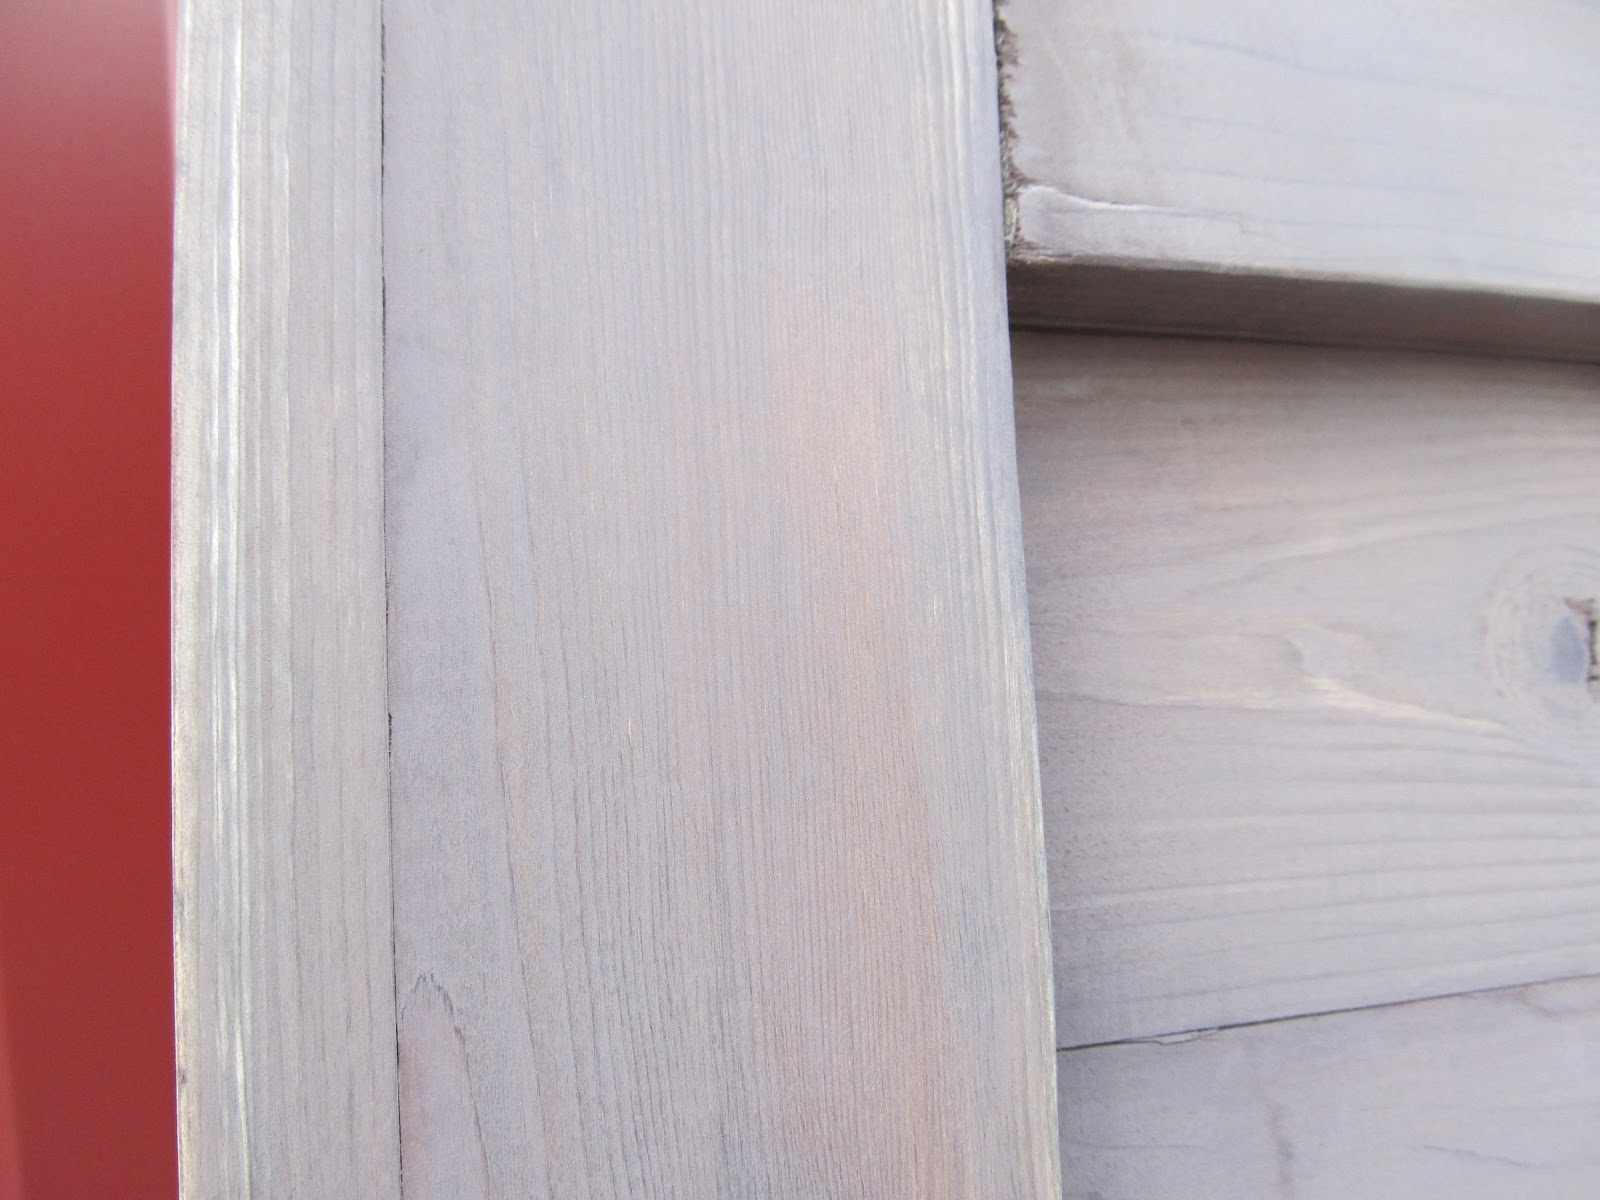
Awesome detail in the grains.
So here are my tips that I learned along the way.

Measure, measure, measure! You can't tell in the pictures but the frame where the bolts are supposed to be barely touch the legs on the headboard.

Get straight wood. The straighter, the better.

Wear gloves when staining the wood with tea, homemade stain and polyurethane. I didn't wear them when applying anything and this is what happened.


Let me tell you, it doesn't come off. However, I did manage to figure out how to get polyurethane off using olive oil. I rubbed my hands down with a decent amount, then washed with soap and water. I tried everything from nail polish remover, vinegar, extra strength GO JO with pumice.

Until next time,
Sarah

August 21, 2012

Next Homemade Project, Sneak Peek!

I went to the local hardware store today to pick out some wood for my new project. It's actually very hard to pick out the perfect pieces...most are bent in weird ways making them not lay flat. It's utterly important, if you are building something, that the materials you use are straight. If this step isn't taken, it will shift things in your project and make them crooked.
Back to my new thing... I'm going to be building a headboard for our bedroom!  Our poor bedroom has been pushed aside and neglected. It's the last of 2 rooms in the house that haven't been touched. Although I have ideas to totally make it over and build all new furniture for it, I'm down to the wire on time as I start school on Monday. Money is also getting tight as next week I go back down to part time. Our room will once again take the backseat to everything else going on. I am, however, bound and determined to not give up. Even if it means going to the hardware store once a week for a piece of lumber, until I have enough for my next project. Oh, I forgot to tell you, this was my favorite part of going to the hardware store...the cost of lumber: $30!!! Can you believe that? $30 for a solid wood headboard. I also picked up some steel wool for a side project that will tie in with making my headboard.
I've fallen in love with woodworking! It's not only makes the wallet happy, but it also provides that little touch of personalization and sense of pride that YOU made it. It excites me when I think about the pieces I want to build, but I have to keep telling myself, "in due time."
I'll be sure to update with my progress photos and my tips I learn along the way.

August 18, 2012

Finished table

It only took me two days but I've finished my table. I think it looks amazing. It's too tall to use as an end table. So I decided to put it in the "foyer" as a hallway table. I've been looking for one to go there for some time and I'm so happy that it worked out the way it did!! If you're wondering about the plans I used, you can see them here.

Bear booty made it in the picture!


I learned a couple of things about woodworking on the way.

When cutting the wood and it calls for off square, this means instead of the wood laying down flat, it stands up on it's smaller side.

Always double check what you're supposed to cut. Triple check it even! I ended up having to go back and re-cutting the wood because I didn't read that it said not parallel to the other side.

Use glue for the leg supports, otherwise they will turn.

August 16, 2012

Sneak Peak!

I've been spending a lot of time in the garage recently. I thought I'd show y'all a sneak peak of what I'm working on!

These will be the legs for my end table.

Just saying, best investment ever!
This is what it does :)
I'll be working on it later today and tomorrow after work. I'm hoping to be done with it by the weekend! I have a "back-to-school" party That I'm hosting and I want to show this puppy off!